Starting with bare walls needs just as much planning as a renovation. Getting things right means planning well, measuring twice, cutting once, because patience shapes results. Tiles stick better when surfaces stay clean and flat beforehand. Mistakes creep in if corners are rushed or details ignored. Water finds weak spots fast, especially where grout meets floor edges. Planning stops small leaks from turning into big headaches later in Bathroom Tiling Melbourne. Smooth outcomes come from thinking ahead, not just laying tile pieces down.
Why is preparation important before tiling starts?
Considering the purpose of tiles is to provide a useful surface, look appealing, and provide water protection, the best results come from careful planning.
For example, mist clings to walls day after day while heat shifts without warning. When surfaces aren’t prepared correctly, grout splits apart, tiles lose their grip, leaks sneak through, and support weakens slowly beneath.
After stepping into a bathroom, we thoroughly assess the walls, checking how solid they seem. Floors get studied next, noting any dips or lifts underfoot. Substrates are tested by tapping or probing gently. Where surfaces tilt or slope, more time is required to plan and tile. Damaged spots in tiles may be an indication of flooring or wall defects. Repairs take priority when cracks or weaknesses appear. Only once problem zones are clear do plans move forward.
What happens during substrate preparation?
A base layer holds the tiles in place beneath them. The material underneath gives structure where pieces rest.
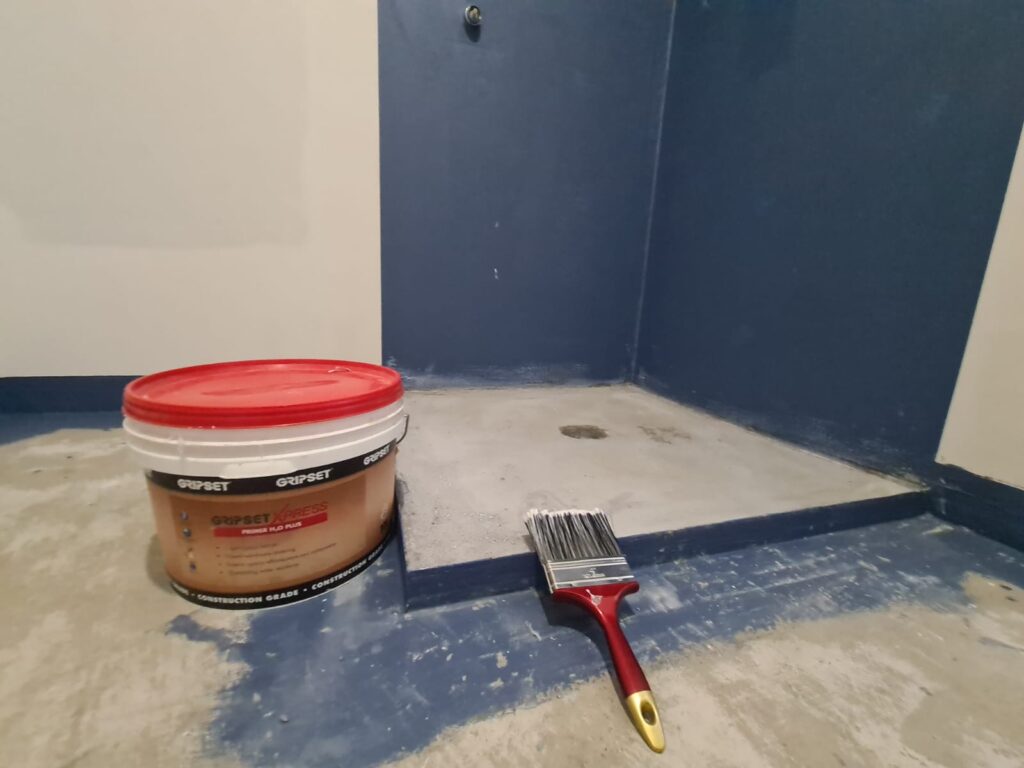
Before laying down waterproof layers, installers smooth out surfaces, clear away dust, grease, and anything else that could weaken bonding. A smooth, clean base comes first – uneven spots get fixed right away.
When bathroom tiling floors are uneven, they often need filling or fixing before bathroom tiling begins. Only once flat will the surface hold tiles properly, preventing breaks and shifts later on.
Good substrate preparation helps achieve consistent tile alignment, too.
Why is waterproofing preparation necessary?
Running water and moisture is obviously common in bathrooms, thanks to showers doing their job, together with toilets and sinks each time they’re used. Cleaning can bring more moisture along, too.
Before tiling, a shield is required so that surfaces are prepped correctly, stopping dampness from moving through. Sometimes, water gets trapped where you do not expect – sealing things early keeps it out.
Focusing on corners, installers also watch joints where materials meet. Where pipes pass through walls, mistakes can let water sneak out. Drainage spots get extra care because leaks show up there the most. Each detail matters just as much as the next when keeping things dry.
How exactly is the waterproofing step carried out?
Waterproofing usually begins after substrate preparation.
Waterproof sheets go on walls and floors by experts, ensuring compliance with local construction rules. Near drains or edges, workers add extra layers – these spots get special attention because leaks happen more often there.
Applying one waterproof sheet at a time is necessary, waiting long enough before adding another. Moving too fast here can weaken how well it keeps water out.
Fixing leaks costs more down the road if corners are cut early. A solid seal now means fewer headaches with floors or walls rotting out later. Moisture finds weak spots, always. Building it tough at first keeps trouble far off.
Why are laser checks important during bathroom tiling?
How things look when done depends on getting sizes right at the start. Measurements set the stage without saying a word.
Laser tools give workers accurate marks and straight guidelines during setup. A tiny mistake in measuring might lead to crooked tiles that stand out once installed.
From corner to floor, laser checks keep tile lines straight. Where one surface meets another, alignment stays true. This is how we prevent grout gaps. Balance across spaces improves – no guesswork is needed. For every floor and bathroom tiling wall, laser checks are a necessary step for a precision result.
Why does every stage matter?
Every step leans into another, with all steps being interdependent on the final outcome. What comes next is relying on the previous step being done correctly and completely. Moving forward through a project depends on how well each step is performed.
When prep work is rushed, water can find its way through. Moisture sneaks in if barriers aren’t tight. Wrong dimensions throw off how things look and how water flows away. Future steps are much more difficult and a sloppy finish is the result of bad planning.
Melbourne Superior Tiling handles jobs without rushing, charging fair prices for professional experience and solid results. Call us now, even if it’s for uneven grout or peeling corners which can be fixed now to avoid bigger issues down the road.